No Man’s Sky: Guide to Galaxy Collecting


There are 255 galaxies in No Man’s Sky as of this article. Hello Games, however, could unlock more galaxies in the future. There are various ways to unlock each of the current 255 galaxies within No Man’s Sky. Let’s explore all of the ways and see which one is best.
Galaxy Center
The primary way that has been designed by Hello Games to unlock new galaxies within No Man’s Sky is to reach the center of each galaxy using a series of quests. Once you reach the center, your ship will be catapulted to the next galaxy in numerical order. From 1 through 255. If you’re in galaxy 1, then the next galaxy unlocked should be galaxy 2, then galaxy 3 and so on.
To unlock each galaxy, you will need to follow a very long, convoluted and involved Atlas quest line along with using black holes to hyperjump ever closer to the galaxy center. Performing this method to reach the galaxy center could take literal months to unlock just one galaxy. Attempting to get through all 255 galaxies in this way could take you years, assuming you follow Hello Games’s designed path.
Once your ship reaches the new galaxy, some of your ship’s technology will be broken and in need of resources to repair along with some of the technology in your Multitool. If you’re planning to use this (as designed) approach to unlock galaxies, it is strongly recommended to pick up a throw-away ship right before reaching the center. It also recommend to equip a throw-away Multitool. Then, when in the new galaxy on the other side, switch ships and then sell that broken ship and free up that slot. Then, switch back to your primary unbroken Multitool. This means you don’t have to worry about repairing any of that broken ship junk or a broken Multitool.
If you know you’re going to be doing this often to unlock many galaxies, then you’ll need to buy a super low priced functional ship each time and also equip that broken Multitool before proceeding to each galaxy center. You just need to make sure the ship you buy has enough hyperdrive distance to get to the center, which might mean buying and equipping distance mods.
However, thankfully there are much easier and faster methods to unlock galaxies that avoid this whole long tail quest and broken technology problem, but these involved using multiplayer.
Friends
After multiplayer was added to the game, Hello Games allowed you to follow your friends or a group out of the Anomaly station and into their system. This allows you to follow a friend into their system and their galaxy.
If you have a friend who has already unlocked a number of galaxies, you can unlock each of those same galaxies by using the Anomaly to follow a friend into them.
This method requires friends who already have galaxies unlocked. If you don’t have any friends like this, there is the another method below.
To use the friend method, you will need to have Internet and, if using a console, access to PlayStation Plus or Xbox Live to connect with your friends using multiplayer. The Nintendo Switch version of No Man’s Sky does not currently offer multiplayer, so this method is presently not available for those playing on the Nintendo Switch.
Anomaly Terminus
This is the fastest and recommended method to unlock galaxies, but again this doesn’t work on the Nintendo Switch. It also doesn’t require broken ships or spending months traveling to the galaxy center. However, it does take time to collect the galaxies in this way. When you do, it’s way faster, easier and doesn’t require having any friends online. In fact, this method doesn’t involve friends at all. It does, however, require multiplayer, so you will need to have multiplayer and crossplay enabled to unlock this method and offer you the best chances at finding galaxies to unlock.
As stated, if you’re playing on the Switch, this method is unavailable. This means when playing on the Switch, you’ll need to rely on the first method (galaxy center) described above to unlock galaxies. It is presently the only method for those playing on the Switch or for others who are playing the game in offline mode. If you are playing on a platform that supports multiplayer, then the Anomaly Terminus method works exceptionally well.
On the second floor of the Anomaly station is a giant Terminus that allows you to warp to your bases, other space stations and even to bases of people who are currently visiting the Anomaly at that moment. It is this latter part that is how you find galaxies to unlock.
Method
- After visiting the Anomaly station, head up to the giant Terminus
- On the Terminus, select ‘Space Anomaly’. This isolates the screen to only bases by other players actively visiting the Anomaly at that moment.
- Click on each base listing to see if the base is in a galaxy other than Euclid (or whatever galaxy you are presently in). Note that bases that don’t list a galaxy in the base information means that it is in the same galaxy where you presently are. If you’re in Euclid, it means that that base is also in Euclid. If you’re in Eissentam, then it means the base is also in Eissentam.
- If the base information doesn’t list a galaxy name, then move onto the next. Keep clicking on each base listing until you find one that contains a galaxy other than the one you’re in. If you don’t see any bases with a new galaxy, jump to step 8.
- Once you find a base that is in a different galaxy, you may be forced to wait while it downloads. If it fails to download, back out and click on the base name again. It sometimes takes 2 or even 3 attempts to load before it allows you to warp to that base.
- When ‘Warp to [Base Name]’ appears, click it and warp to that base.
- Now you’re in that new galaxy. All you need to do is establish a base in that galaxy and you can visit it at any time. If you’re really lazy, you can visit the space station in that system and that will allow you to return to that galaxy through the space station. I don’t recommend the space station collection as a method because space stations have chances of dropping off of the list. Built bases never disappear from your list.
- If you fail to find any galaxies in the Anomaly Terminus list, don’t fret. You have two options: 1) wait for more players to show up (could take a while) or 2) (faster method) Go to your ship, fly out of the Anomaly, turn around and fly back in. Flying out and back in will put you into a brand new lobby with brand new players. At this point, rinse and repeat beginning at step 1. It could take as many as 3 fly-out-and-in attempts to find a player with a base in a new galaxy. If you try more than 5 times without success, take a break and try later.
There are some tricks here. There are times where in step 5 the game simply refuses to download the base. This either means the player has left the game entirely for that session or there’s a connectivity problem. You’ll simply need to skip that base and try to find a different base to that same (or a different) galaxy. I’ve lost several possible galaxy collects as a result of failing to download the base. Don’t be discouraged as there are plenty of players and plenty of chances to find it again or even new galaxies to add to your collection. After all, there are 255 of them.
You’ll also need a relatively good memory to see and recognize galaxies you have already collected. Once you collect about 20 or more, you may not recall all of the galaxies you presently have collected. If you see a base in a galaxy you don’t recognize, warp to that base anyway. It’s better to be there and not need it, than skip and and find that you do. Once you reach the new galaxy, you can spend the time to dig through your own bases in a Terminus to find out if you already have base there. If you already have it, then fly into space and call the Anomaly and start over at Step 1.
Mix and Match [Updated: 5/30/2023]
I’ve decided to add a few more thoughts about galaxy collecting. There’s no need to constrain yourself to one type of collecting. If you like the idea of using the galaxy center at times, then by all means use that. If you like the thought of being able to find galaxies using other player bases, then use that.
One thing I didn’t mention is that you can use glyphs as a shortcut to reach the galaxy center of each universe, assuming that you want to use the galaxy center approach. This will help players on systems without multiplayer, like the Nintendo Switch. If you’re constrained to using the galaxy center approach, then you’ll need to search Google to find shortcut glyphs that will lead you to the galaxy’s center.
You’ll first need to know all of the names of the galaxies to search Google for the galaxy center glyphs. Know that there are a few legacy galaxies that appear to not be collectable using the galaxy center approach. These are galaxies 256 (Odyalutai) and 257 (Yilsrussimil). Once you reach the center of galaxy 255 (Iousongola), you will be taken back to galaxy 1 (Euclid).
If you are using the galaxy center approach and after reaching a brand new galaxy, you’ll further need to find a portal in that new galaxy with which to use glyphs. This will take some time to locate a portal. For this reason, the Anomaly approach can be faster, assuming you have access to multiplayer.
Future Expansion?
Note that there is at least one special numbered galaxy named Hacolulusu. It is numbered both +MAX32INT+1 and -MAX32INT+1 at the same time… or, in number, +2147483648 AND -2147483648 simultaneously. It is likely that Hello Games reserved this galaxy endcap placeholder to prevent accidentally assigning it. The bigger tell with using this 32 bit sized integer is that it suggests that 255 isn’t the maximum number of galaxies possible. In fact, it seems Hello Games may have reserved the possibility of at least 2,147,483,647 (2.1 billion) galaxies (unsigned) or up to 4,294,967,294 (4.2 billion) galaxies (signed), while artificially constraining the number to 255 at this moment.
The fact that the galaxies Odyalutai (256), Yilsrussimil (257) and Hacolulusu (+/-MAX32INT+1) exist strongly suggests the possibility of offering more galaxies than 255. Further, it suggests the game is artificially constraining itself into using an 8 bit integer value when No Man’s Sky is very likely using a 32 bit signed integer to store the galaxy ID values.
What this all means is that Hello Games could open up more galaxies in the future, possibly expanding it to 512 or 1024 or some similarly lower and more manageable value. It’s unlikely Hello Games would open up the full 4.2 billion galaxies, though.
Etiquette Suggestion
If performing the Anomaly Terminus method (using strangers) for collecting galaxies, I recommend leaving the system to finding your own system for setting up your first base in that new galaxy. However, if you find a planet that is so overwhelmingly good in that player’s system that you can’t pass it up, then by all means establish a base there. For example, were I to find a spot on a planet with 20 Mold Balls, I’d have no problem establishing a base around that.
However, as a matter of etiquette and courtesy, I recommend establishing bases in systems that you have unlocked yourself rather than encroaching onto that person’s system that you leeched from the Anomaly.
If you happen to land in a galaxy and system with hundreds of bases already, then it won’t matter if you establish a base there. There are a number of these out there that have been used for both Expeditions and for Weekend events.
Good Luck and Happy Galaxy Hunting!
↩︎
No Man’s Sky: How to get a Sentinel Ship
 Unlike the very long tail quest line to obtain a Living Ship, the Sentinel Ship is easy to obtain by comparison. There is no long multi-day process to obtain this one, thankfully. Obtaining the Sentinel ship is fairly straightforward and easy to obtain in one game session, about an hour worth of effort, after getting the quest. Let’s explore how to get this newest ship.
Pre-Requisites
The items you’ll need to make this quest successful are:
- A well outfitted starship, for battling Sentinels successfully
- Living Glass (supplied)
- Pugneum (supplied)
- A well outfitted Multitool, for battling ground corrupted Sentinels successfully
- A hyperdrive and enough fuel to jump
- A pulse drive with enough fuel
- An Advanced Mining Laser on the Multitool (for Radiant Shards)
- One free ship slot or, alternatively, a ship that you’re willing to trade
[Update 4/14/2023] After trying for several hours across multiple saves (other than the first save, which worked), I’ve been unable to reproduce Step 1 on any save other than my very first save. The very first save actually had the pulse drive interaction occur the very first time I pulsed. I believe I have an answer.
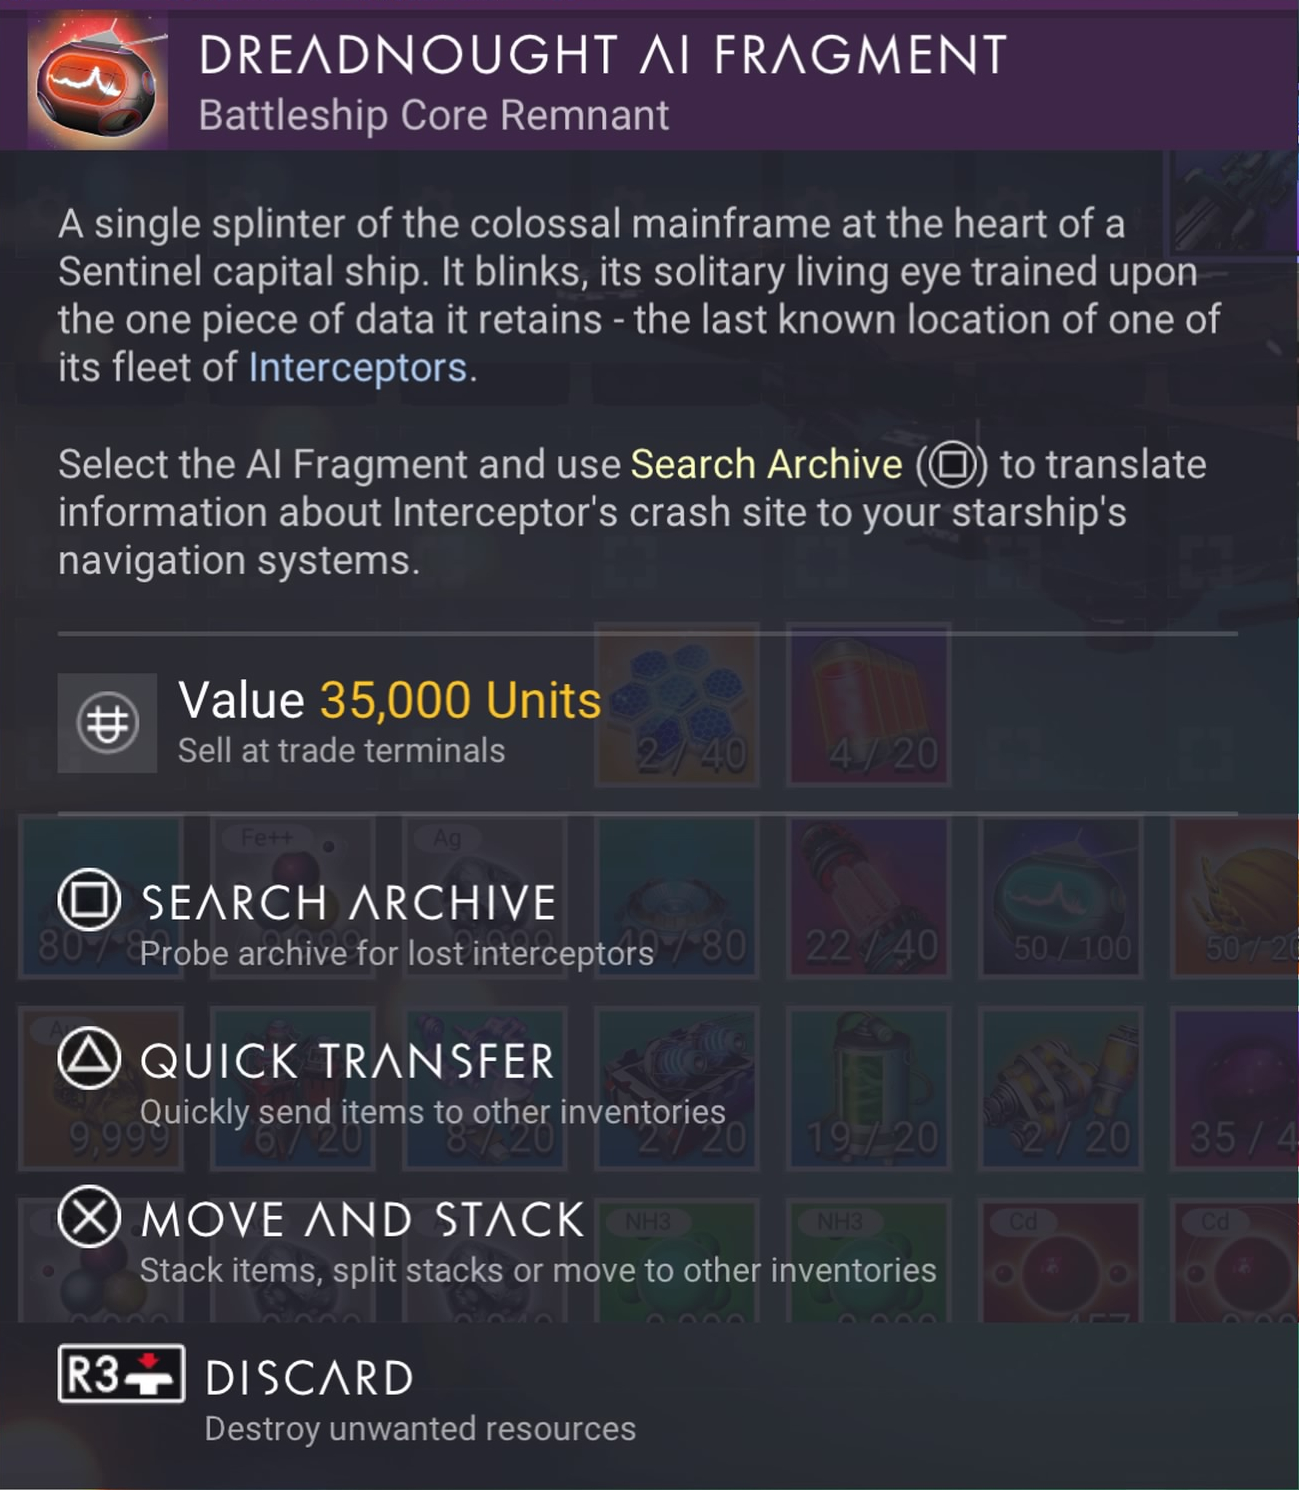
I suspect that Hello Games may have introduced a bug in this process. It seems that Hello Games may have made this pulse interaction available one-time-only on ONLY ONE SAVE. This means that if you wish to obtain a Sentinel Ship on a second, third or any later saves, you’ll need to use the 5 Star wanted approach to get an Echo Locator OR a Dreadnought AI Fragment (via blowing up a Sentinel Freighter). I don’t know why Hello Games would have done this, but I do know that there are global variables which can be set and which are visible to across all saves (e.g., Preference Settings). It seems Hello Games may have set a global variable to indicate that the Sentinel pulse drive interaction has already occurred, thus preventing this interaction from occurring again on any other save… since every save has visibility to this variable.
What does this mean for you? If you have several saves that you regularly play, this bug means that you’ll need to choose which save where you wish to have your first Sentinel ship. Otherwise, once you’ve had this interaction on one save, on the rest of your saves, you’ll need to perform the 5 Star wanted steps for an Echo Locator device OR destroy a Sentinel Freighter for a Dreadnought AI Fragment which will lead you to a crashed Sentinel ship. [Update Complete]
Step 1 — Pulse Drive
This first step in obtaining your Sentinel ship is to grab whatever starship you have that fits the above requirements and head into space. Then, trigger the pulse drive. Remain in pulse until a distressed Sentinel ship appears in front of you. This should hopefully happen relatively quickly, but it may not. You may have to do this for a while to get it to happen. Once you get the right interaction, drop out of pulse, then a new Sentinel ship will appear and seem to be in distress. You will not be able to do anything for or to this ship, but the game will pretend to give you options. Whichever option you choose, the ship will disappear. If this pulse interaction occurs for you quickly, skip down to Step 2. If it doesn’t, please continue reading Step 1 for alternative means to get a Sentinel ship.
Alternative Ways to Begin The Salvage Quest
I had the pulse drive interaction appear almost instantly in my first attempted save. In a second save after having already had this pulse interaction previously, I tried for several hours to get it to occur and it didn’t (see more details in Update area above). Meaning, using the pulse drive to launch into this Sentinel salvage quest seems to only work one time and with one save only. Choose your save carefully.
If you wish to obtain more Sentinel ships after the first, you cannot use the pulse drive process. To begin at this point, you’ll need to fight Corrupted Sentinels (on a Corrupted Sentinel World) to a wanted level of 5 and then complete all ground kills or destroy a Sentinel Capital ship in space, which also requires a 5 star wanted level before it appears.
At the end of all ground based kills, your character will be awarded with a Sentinel crash site detector called an Echo Locator.
There is also the possibility of getting an Echo Locator from destroying Dissonance Resonators (the same drill structure that gives you Inverted Mirrors). You’ll need to step out of your starship or exocraft and check which type the Dissonance Resonator gives you. Also note that some Dissonant worlds are way more generous with the chances for finding Echo Locators than others. You may have to scout several dissonant worlds before you find one with Dissonance Resonators offering Echo Locators. If you find such a world, you should create a base there. Note that the easiest method of destroying a Dissonance Resonator is to use your starship’s weapons. Then, heading to space to eventually evade the sentinel wanted status.
Alternatively, you can destroy a Sentinel Freighter in a space battle and receive a Dreadnought AI Fragment. Each of these items will lead you to a new Sentinel ship crash site. Reaching that crash site, the below steps should remain the same.
To be fair, it may be easier to destroy a Sentinel capital ship in space than it is to perform ground combat with most of the crappy Multitool weapons they’ve hobbled us with… in combination with the fact that all corrupted Sentinels can heal each other at will. It simply takes a bit of time to destroy a Sentinel Capital ship, first by targeting the weapons and then by targeting the freighter itself.
For your second, third or further ships, it is strongly recommended that you leave the system where you found your first ship. If you use an Echo Locator or Dreadnought AI Fragment in that system, the game may locate a crash site to a ship model you already own. The game’s code is not intelligent enough to realize you already own a ship from your local system and will likely choose to send you there again. Don’t waste your Echo Locators or Dreadnought AI Fragments by using them in a system you’ve already visited. Hyperdrive somewhere else far away and then let the game use that new location to locate another ship.
If you’re really, really lazy and don’t want to fight Sentinels AND you have a full 30 fleet of Class-S 5 Star frigates, you can send your frigates on missions with the possibility of an expedition returning with a Dreadnought AI Fragment. I didn’t realize that these devices had been added as possible loot from frigate expeditions, but they have been included.
Note that Echo Locators may lead you to a Sentinel ground encampment which will give you a new Sentinel Multitool. You will have to dig around that encampment to find a way to reveal the crashed Sentinel Interceptor.
Note: You may have to complete the quest line “Under a Rebel Star” before the game allows this interaction to occur in pulse. The reason isn’t because the “Under a Rebel Star” quest is part of or even related to this Distressed Sentinel Pilot interaction, but because this quest line appears to take precedence over all Pulse Drive interactions until the quest is completed. Meaning, if you haven’t started or completed this quest line, your pulse drive interactions will be geared towards getting you to complete “Under a Rebel Star.” I recommend getting this quest out of the way.
Step 2 — Obtain the Salvage Quest
After the Sentinel ship disappears, the game will give you a Sentinel Salvage quest line. This quest will lead you to a Sentinel Salvage Site located on a Corrupted Sentinel planet (a new planet type). The game will either put a marker to a local planet in your current system or it will put a map marker onto the galaxy map for a different system. Most likely it will be the latter of the two options, requiring you to hyperjump into a new system. This is why you’ll need to have a Hyperdrive and the required amount of fuel.
Step 3 — HUD Marker
Once you have jumped into that new system, a HUD marker will appear on a planet. Head to the planet’s location, which will be an approximate location on the surface. When you get close to the marker, I suggest flying around the general vicinity of the marker to look for a crashed starship site. If you can’t find it, you’ll need to land and use the scanner to locate the general direction and head there on foot. For me, the crash site was quite visible and easy to spot from the starship.
Step 4 — Crash Site
Once you arrive at the crashed ship, there are many steps you’ll need to take to fully repair the ship. Though, as I said above, the steps are relatively simple with no long waiting periods in between. However, unlike other crashed starships, repairing this Sentinel ship is a bit different.
When you click-hold to open the ship the first time, you’ll see some components that, at first, you might think you need to repair. Don’t be fooled. You don’t repair these. Instead, Hello Games has added the questionable mechanic of requiring you to take those items out of the ship by grabbing them and dropping them into your inventory. It’s an odd play. I was a little confused at first because it’s the first time this mechanic has been used on a crashed ship. The items supplied by the ship are Living Glass, Pugneum and Hyaline Brain.
 Once you have taken the items from the ship (including the Hyaline Brain), a new slot will appear that you need to repair called Pilot Interface. To repair the “Pilot Interface” slot, you’ll actually need 3 items that you likely won’t have:
- 3 x Radiant Shard
- 1 x Inverted Mirror
- 1 x Harmonic Brain
Since you might not already have Living Glass or Pugneum needed for this process, remember to take the items from the ship as supplied. If you don’t take ALL of the supplied items, the process may fail to work. Take everything the game gives you. I actually had everything I needed from past Sentinel battles (in addition to the items supplied) including having already scavenged the new crystals. The only exception was that I didn’t have the Harmonic Brain.

One of the three items you’ll receive from the ship is a Hyaline Brain. This object, like a Emergency Broadcast Receiver or a Sentinel Boundary Map, allows you to activate it (“Probe”) and find a location to visit. This location will help you in repairing the Pilot Interface in Step 8.
Step 5 — Gathering Resources
Because this quest line leads you to a new “Corrupted Sentinel” world, you’re going to need to spend some quality time with your Multitool gathering both Atlantadeum from Living Fragments via the smaller purple crystals and the Radiant Shards via the bigger purple crystals (using the Advanced Mining Laser) and, of course, obtaining the Inverted Mirror (see Step 7).
Step 6 — Getting a Radiant Shard
This is the easiest and quickest of the 3 steps required to repair the Pilot Interface. Simply head out and find a pile of large purple crystals. Once you aim your reticle at the crystal, it should say ‘Radiant Shard‘. You’ll need to have an Advanced Mining Laser to obtain 3 of these, but it’s easy and quick with the mining tool. I’d suggest mining for more than you need, just in case.
Step 7 — Getting the Inverted Mirror
To get an Inverted Mirror, you’ll need to destroy a Dissonance Resonator. This is another new Sentinel creature type which looks like a moving crystal shard, but also kind of like a drill. Once you begin shooting this creature, Corrupted Sentinels will appear making you wanted. I’d suggest simply keeping up your barrage (ignoring the Sentinels) until you get the Inverted Mirror, then dive into the ground using the Terrain Manipulator and hide to get rid of the wanted stars.
If you hop into your starship and take off, your wanted status will be carried into a space battle with the Sentinels. It’s easiest to dive into the ground and wait it out.
Step 8 — Getting the Harmonic Brain
To obtain the Harmonic Brain, you’ll need to have a Hyaline Brain. The Hyaline Brain is given to you from the crashed Sentinel starship as one of three components given to you which includes Salvaged Glass, Pugneum and the Hyaline Brain. If, for some reason, you didn’t get a Hyaline Brain from the ship, you’ll need to go back and get it or, if you destroyed it, restore from a save before destroying it (the easiest way). Once you “Probe” the Hyaline Brain, it will give you coordinates and place a map marker on your HUD to an Ancient Monolith. Head there.
Once you arrive at the Monolith, you will hand over the Hyaline Brain in exchange for a Harmonic Brain.
Note, as stated above, you will need to take ALL of the components from the ship for the Hyaline Brain to activate. If you do not have any Pugneum and/or Living Glass and you fail to take these items from the crashed Sentinel Ship, the Hyaline Brain probably won’t activate. This includes having put these components into your Starship inventory and then having your Starship out of range. There is no warning why it fails to activate, it just won’t. Make sure to have ALL of the necessary components in your inventory before attempting activate the Hyaline Brain.
Step 9 — Head Back and Claim Your Starship
As the title says, it’s pretty straight forward. From the monolith and after receiving the Harmonic Brain, head back to the crash site, fix the Pilot Interface and claim your starship. Much, much simpler than the Living Starship.
Once again note, you’ll need to have at least one open starship slot or be willing to trade one of your starships for the Sentinel ship. I’d suggest salvaging a starship at the space station so you get all of the materials out of the ship and to free up the slot. Getting the materials from the ship is the far better option than giving over a starship in trade.
Step 10 — Build A Base
While this step is not required in getting your first Sentinel Ship, it is a step you should do to help you get more of these ships. Since this is a new world type and since you’re likely wanting to look for more of these ships, you’re going to need the resources available on this planet, since future crashed ships may not hand you all of the things you need like this first quest does. Since the game sent my character to a Paradise planet with otherwise no sentinels at all, it was the perfect place to establish a base to obtain these new resources.
Obviously, if your world is a charred, volcanic, radioactive or otherwise a rather inhospitable world, you might want to find a better world to establish a Corrupted Sentinel base. If the game sends you to a Paradise world, then it’s well worth establishing a base as there’s no way to know how these resources might be required in future updates.
Is the Sentinel Ship Worth It?
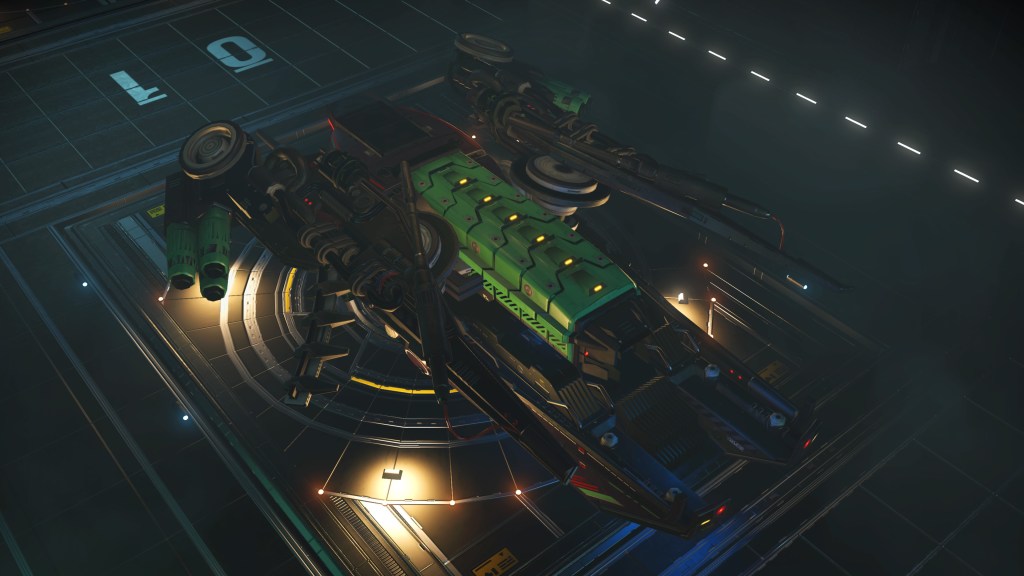
I’ll leave this up to you to decide. I find the ships to be rather blocky and odd shaped. There are a few sleeker design types, but many look like big tanks. When you’re going through this process, you don’t really get to pick and choose your ship’s design. The only way to sort-of pick is to go through this process multiple times, trading in the ships as you find better looking ones. You never really know what you’ll find, though. I was hoping for sleeker designs, like the Exotics. The Sentinel interceptors that fight us in combat actually look better. I was hoping to be able to get these.
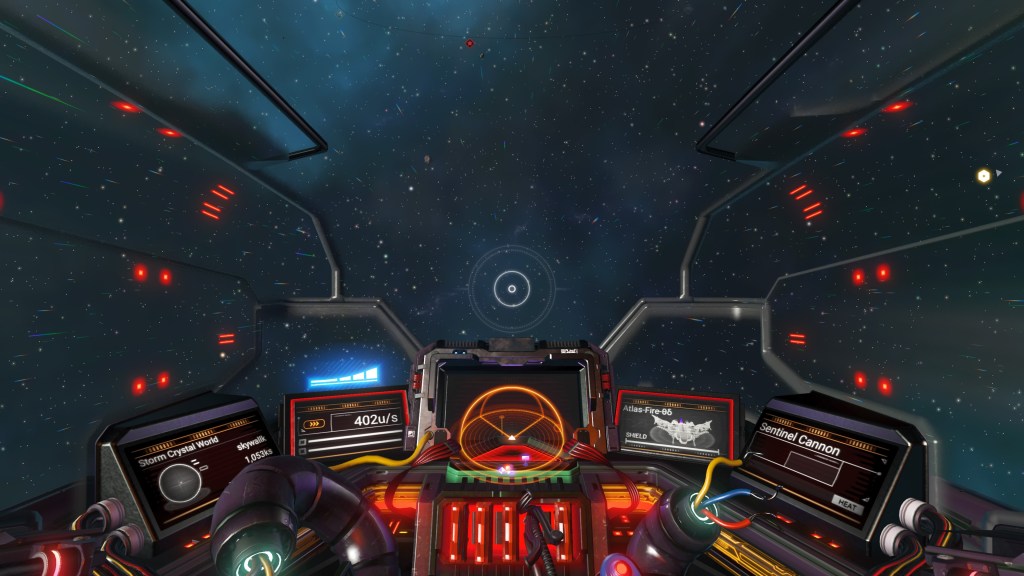
Additionally, the Sentinel ship itself has some odd qualities. When you enter the ship, the entire ceiling of the ship becomes transparent to show the outside. The transparent effect is cool, but it also pulses an odd red circuitry pattern way too frequently while flying, which is highly distracting. I cannot guarantee all Sentinel ships have this cockpit behavior, but they probably do.
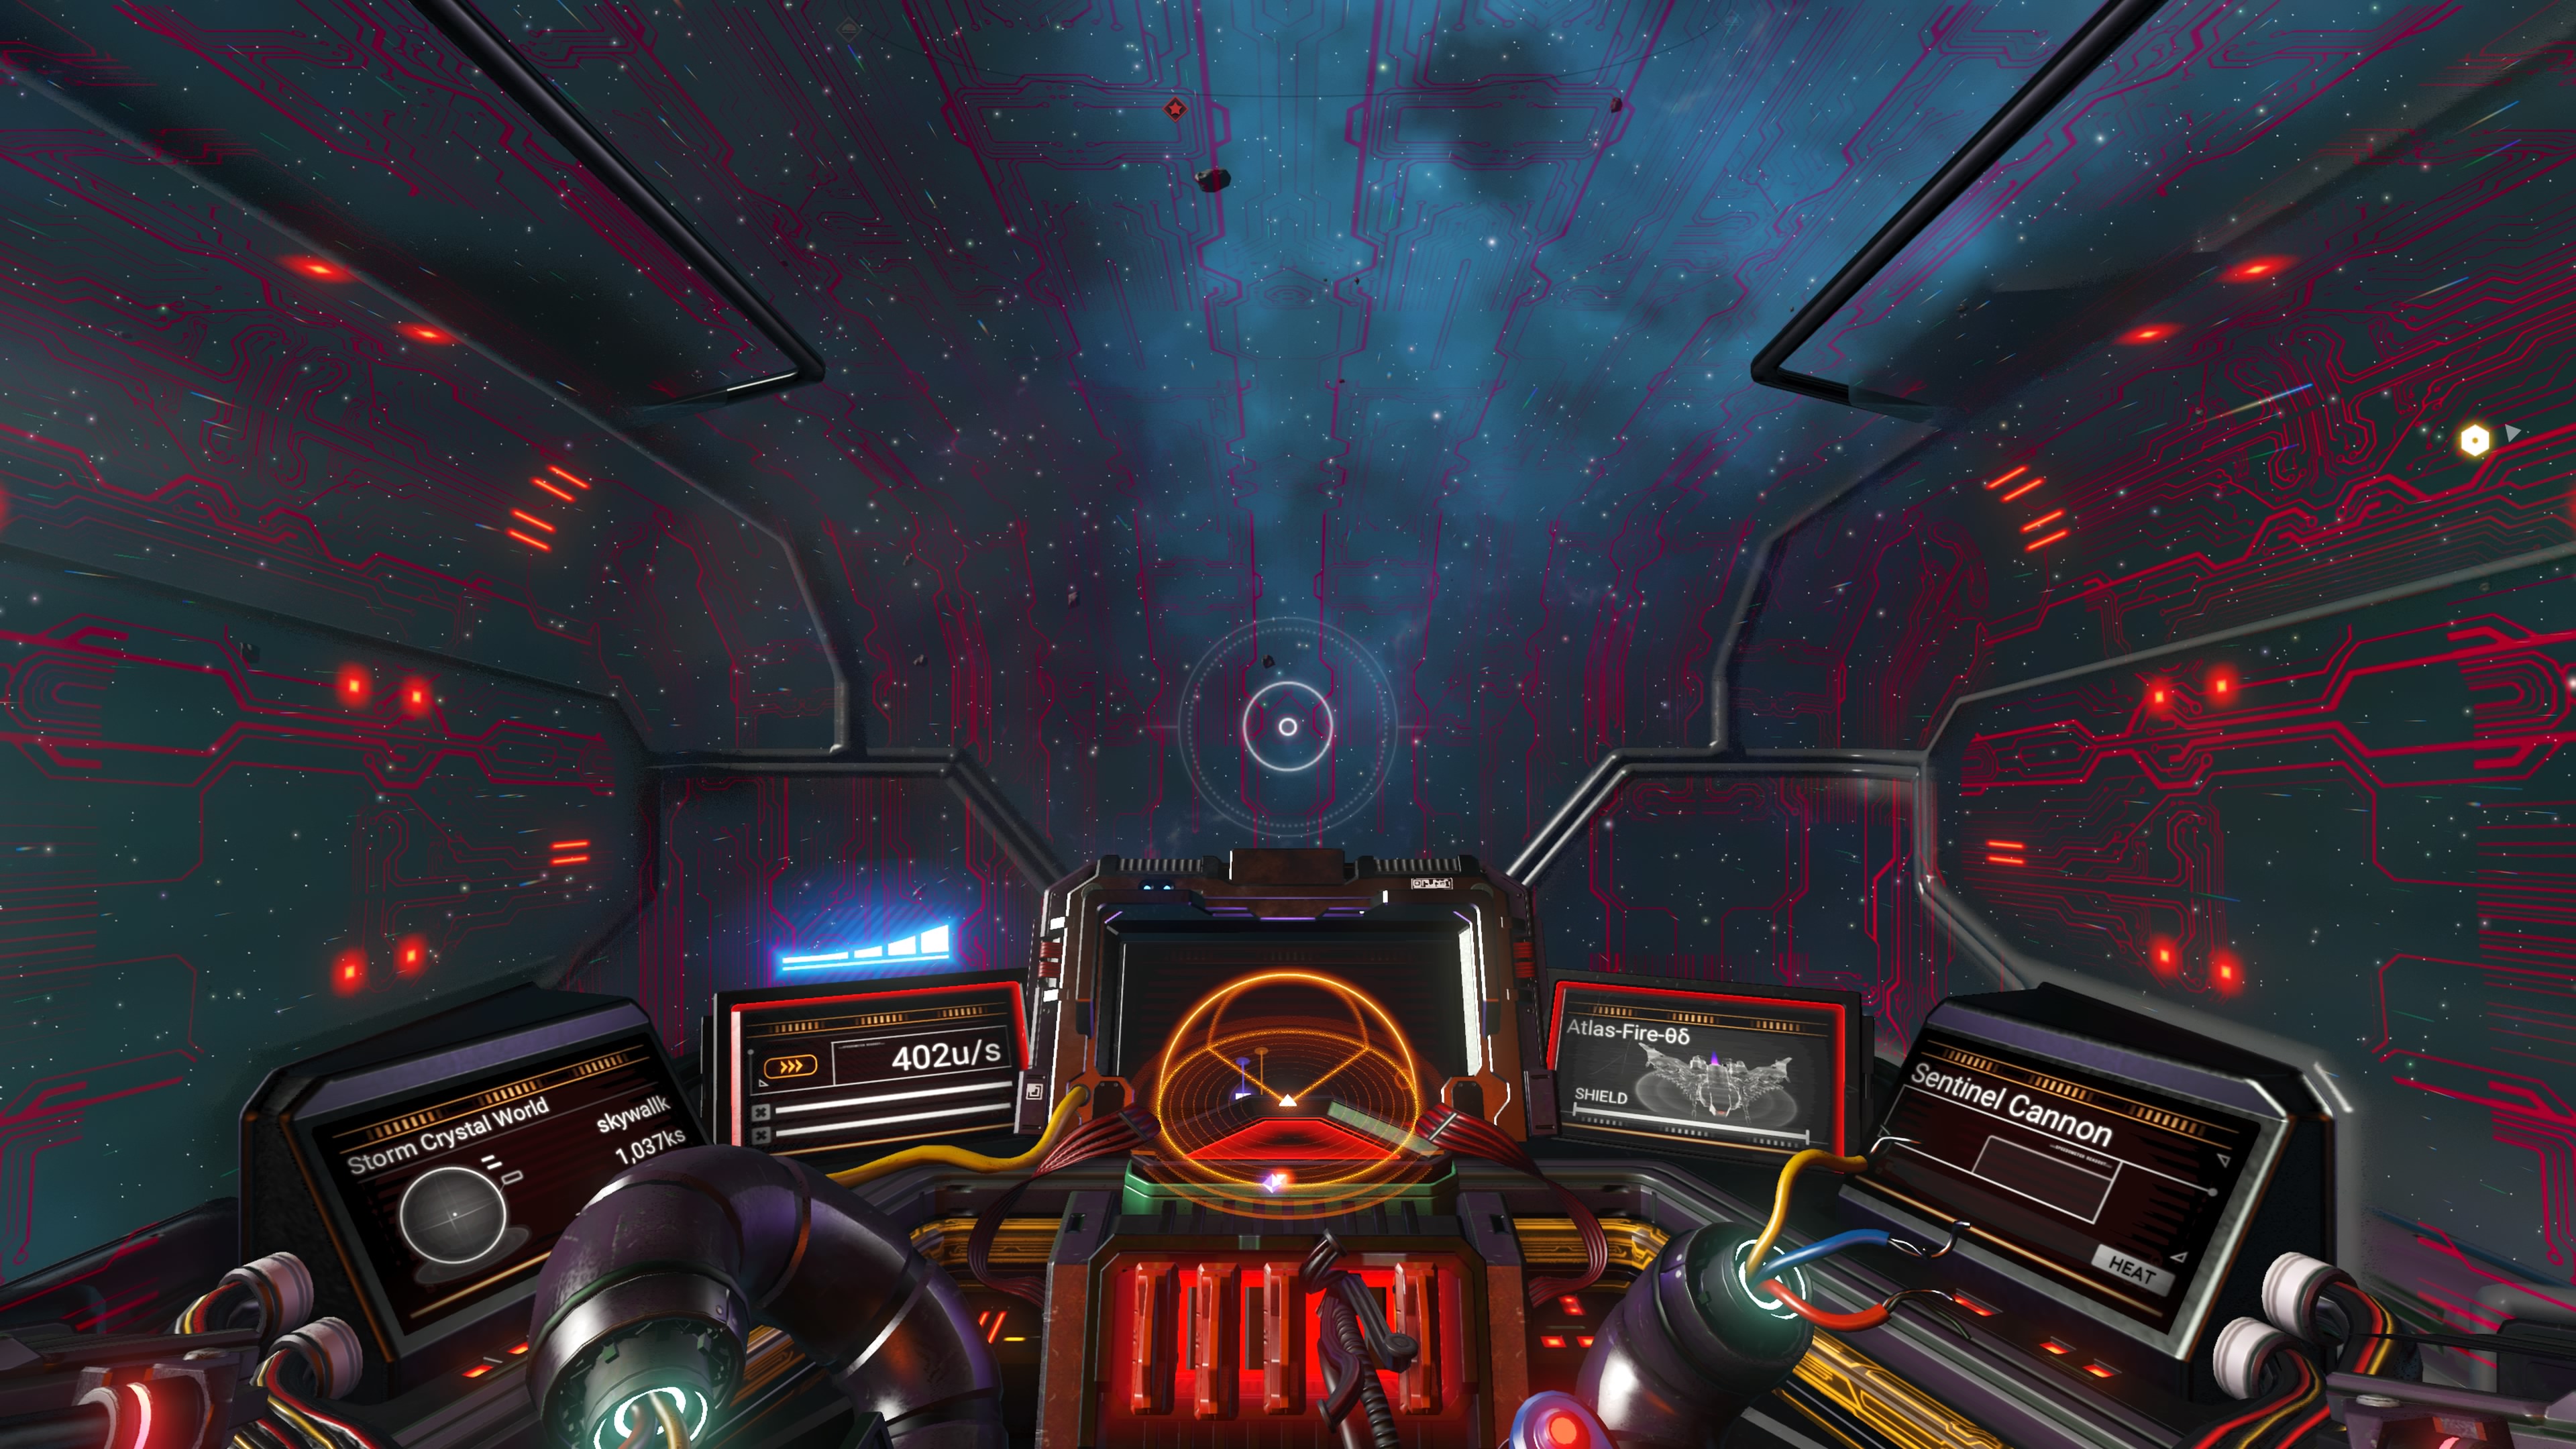
It’s not so much that the red pattern appears at all. It’s that this red pattern appears in a repeating pattern about 6 times in a row in various dimmer and brighter shades, then stops. Then the pattern repeats about every 10-20 seconds. The pattern repeats far too frequently. It would be fine if it pulsed perhaps in relation to the acceleration and/or deceleration OR with certain combat elements, like being fired upon or at most every 3-5 minutes, but it doesn’t work like this. It’s just a pattern that rotates in and out on a timer far too frequently as you fly the ship. It’s really distracting when in combat.
All-in-all, it’s an okay ship to add to your fleet, though it’s not more maneuverable than a fighter or better armored than any other class ship. Even though the slots are named oddly and the technology itself has its own special naming, it supports all of the standard technology modules, unlike the Living Ship. With that said, the Sentinel class ships don’t really have a reason to exist over other ships in the game. This is ultimately the real disappointing thing about the Sentinel ships specifically and No Man’s Sky in general… a point that Hello Games keeps missing.
Ships of various classes need to hold specific unique qualities to that class. For example, these Sentinel class ships should be better armored and better suited when used against Sentinel fleet attacks, but perhaps weaker against Korvax attacks. Focusing on these kinds of ship specialities, as a player you must plan your ship battles more thoughtfully. Instead, Hello Games keeps giving us ships that are more or less the same any other ship in the game. Even the Living Ship, which has weird technology naming and features, is really the same as every other ship. The only real differences between each of the ship classes and types are the shape of it, the size of it, the paint job and the ship’s max maneuverability. All of the ships can be modified using modules to basically become identical for use in No Man’s Sky as a Starship.
It would be great if Hello Games would get past this “sameness” and expand starships by giving us ships that both specialize in and are designed to specifically excel in certain activities, but are weak in other activities. For examples, fighters are intended to be for fighting, but they shouldn’t be at all good at anything other than fighting. Haulers are good for hauling, but not necessarily great at fighting. Shuttles should be for smuggling. Sentinel ships should be great at fighting sentinel fleets. Part of the reason for this unfortunate starship genericism is that the game makes it impossible to switch ships when in space. Only when you’re on the ground or in your freighter can you switch ships. Even then, if you’re in the middle of combat, Hello Games has made it so certain activities are impossible until the battle is over, making switching ships even more of a problem.
Know then that while the Sentinel ship may look somewhat cool, it doesn’t buy you anything more than what you already have in other ships you already own, at least not at this point in time. Here are some snaps of my ship.
![]()


Sentinel Ship Models and Availability
After having read more about this update, I thought it would be a good idea to explain how many different model Sentinel ships there are. Because there are a myriad of different parts (wings, fins, colors, etc) that can be attached to any specific Sentinel ship, the variation in ships is probably on the order of millions. With that said, there are some basic model shapes that get created from all of that variety; basic shapes which range from large tank sized ships to flat triangular style ships. Thus, there are effectively about 6-10 basic model shapes. After seeing about 6 different ships, the remaining variations are mostly minor and won’t change the overall shape of the ship. Effectively, there are only a handful of parts that affect the overall ship’s shape with the remainder of the parts changing only minor cosmetic aspects of the ship.
As for where to find any specific model ship in NMS, it’s still way too early in the release to yet have that answer. However, Reddit is a good place to start. There are subreddits dedicated to cataloging locations of specific ships in the NMS universe. If you’re looking for a specific style Sentinel ship, heading over to Reddit is probably your best answer. Such subreddits are adding new content every day. Finding a specific model Sentinel Interceptor ship is best found in one of those subreddits. With that said, I always find it much more satisfying when I can find my own ships on my own. Locating another solar system with the help of Reddit isn’t quite as satisfying knowing that you didn’t discover that system or that ship. It’s much more satisfying to be the one to discover something new.
As for how Sentinel Interceptors spawn in the game, it goes like this. Only one model Sentinel ship is available in each solar system. Meaning, if you land in a specific system, find a ship and add it to your collection, don’t bother looking for any more ships in that system if you’re looking for a different model. You’re wasting time doing this because when you do find another, it will be identical to the one you’ve already have, with the exception of its class. The only reason to go looking in the same system for another crashed Sentinel ship is when you’re looking for that same ship you already have, but in higher class (and you don’t want to pay Nanites to upgrade it).
It’s worth noting that abandoned systems as well as dead worlds and exotic / anomaly worlds do not spawn crashed Sentinel ships, even if the world is “Corrupted”. What this means is that if you’re using an Echo Locator or a Dreadnought AI Fragment to locate a ship, be prepared to reload your game quickly if the probe doesn’t find anything.
Sentinel Bug Analysis
Hello Games’s No Man’s Sky is not a bug free experience by any stretch. A question arises then, can this bug described in the update above be fixed? Not easily. Hello Games seems to have inadvertently (or possibly intentionally) used a global variable. To fix this, attempting to turn that global variable into a local variable for each save would mean every existing save would then be converted to and marked as having had the interaction if you’ve already had this interaction on one save.
That further means that only newly created saves after the bug is fixed would be able to have this interaction, but that also means starting over from scratch on a brand new save. It also means your other saves would still be required to go through the 5 Star Wanted process to get a Sentinel ship.
The better approach to fixing this bug is to have Hello Games unset the variable entirely, convert to using a save-local-variable and allow all of our saves to again get this interaction. However, that means that one of the saves could end up with two Sentinel ships using the pulse interaction. I personally don’t see this as a problem, but Hello Games probably will. If Hello Games decides to fix this bug, they’ll likely take the first approach, meaning all existing saves won’t benefit from that fix.
And Yet More Bugs
After having dived deep into Reddit around the Interceptor update, I’ve come to realize that there are many, many MORE bugs around obtaining Sentinel ships. Some of the bugs may depend on the platform you play on. For example, PC players seem to have the most problems with this update, but that doesn’t preclude problems for console players.
Here’s a short list of problems that you may encounter when playing the No Man’s Sky Interceptor update while attempting to get a Sentinel ship:
- Bug 1: The Hyaline Brain may not work correctly. Instead of leading you to a Monolith to exchange the Hyaline Brain for a Harmonic Brain, activating the Hyaline Brain instead acts like an Echo Locator, which will lead you to another crashed Sentinel ship instead of to a Monolith.
Workaround: None. - Bug 2: Arriving at the crashed Sentinel ship goes fine, but then after returning from the Monolith, the ship has disappeared.
Workaround: Disable Multiplayer while completing the quest. Because these ships are very popular, leaving multiplayer enabled allows another player to come take the ship and leave the crash site empty. - Bug 3: Arriving at the crashed Sentinel site after the Monolith, the ship flies away on its own.
Workaround: Immediately enter the ship and fix it. Don’t dawdle when you get back from the monolith. If you idle outside of the ship for longer than a few minutes, the ship may fly up and away on its own. If this happens, reload your game from the last save point and try again. - Bug 4: The Hyaline Brain doesn’t work at all.
Workaround: Ensure that you have the necessary amounts of Pugneum and Salvaged Glass in your inventory. Without this, the Hyaline Brain may not activate. If it still doesn’t activate, there may be another bug present. - Bug 5: Locator to the crashed ship doesn’t appear. This bug is actually a bigger problem within the Interceptor update than just with Sentinel crash sites. HUD markers sometimes don’t show up on planet surfaces (and in other locations) for quests. This prevents you from finding the site where you need to be.
Workaround: None known. We’ll have to wait until Hello Games finds and fixes this problem. - Bug 6: The game locks up hard even though the sound still works.
Workaround: None. You’ll need to restart the game and hope it doesn’t lock up again. We’ll have to wait until Hello Games finds and fixes this problem.
Good luck and happy hunting!
↩︎
Tips: Cooking with an Air Fryer
 You recently got a new air fryer as a holiday gift and now you’re wondering, “What can I do with this?” Or, maybe you have one sitting on a shelf that’s been there for months? Wonder no more. Let’s explore various cooking tips for that air fryer.
What Exactly is an Air Fryer?
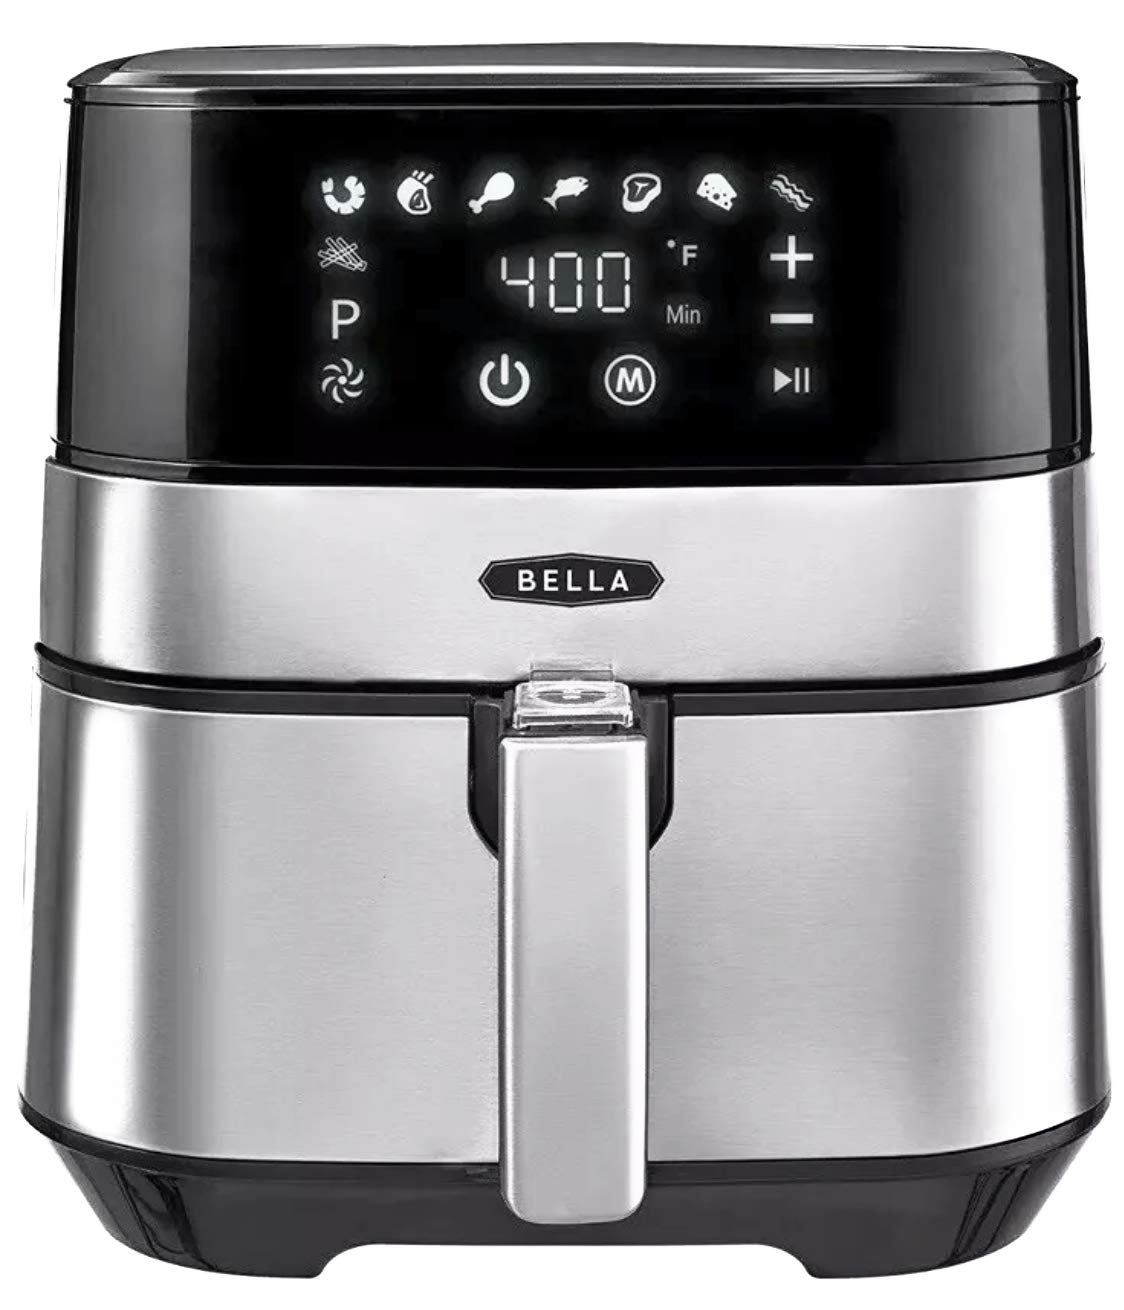
Simply put, it’s a forced air broiler. It’s like a convection oven, but the forced air is much, much stronger. Not all air fryers are necessarily the same. While many offer touch controls, some offer only simple timer knobs (see Bella air fryer just below). Some also heat from the top, while some heat from the side. All cook pretty much in the same way. How does it work?
These small cooking appliances are designed with a fan which forces high speed air through heated coils vertically down onto the food. Some may force it across the food horizontally. That’s pretty much it in a nutshell. Even though the concept is simple, the speed of it is fairly amazing for cooking. However, there are some cautions to go with that cooking speed.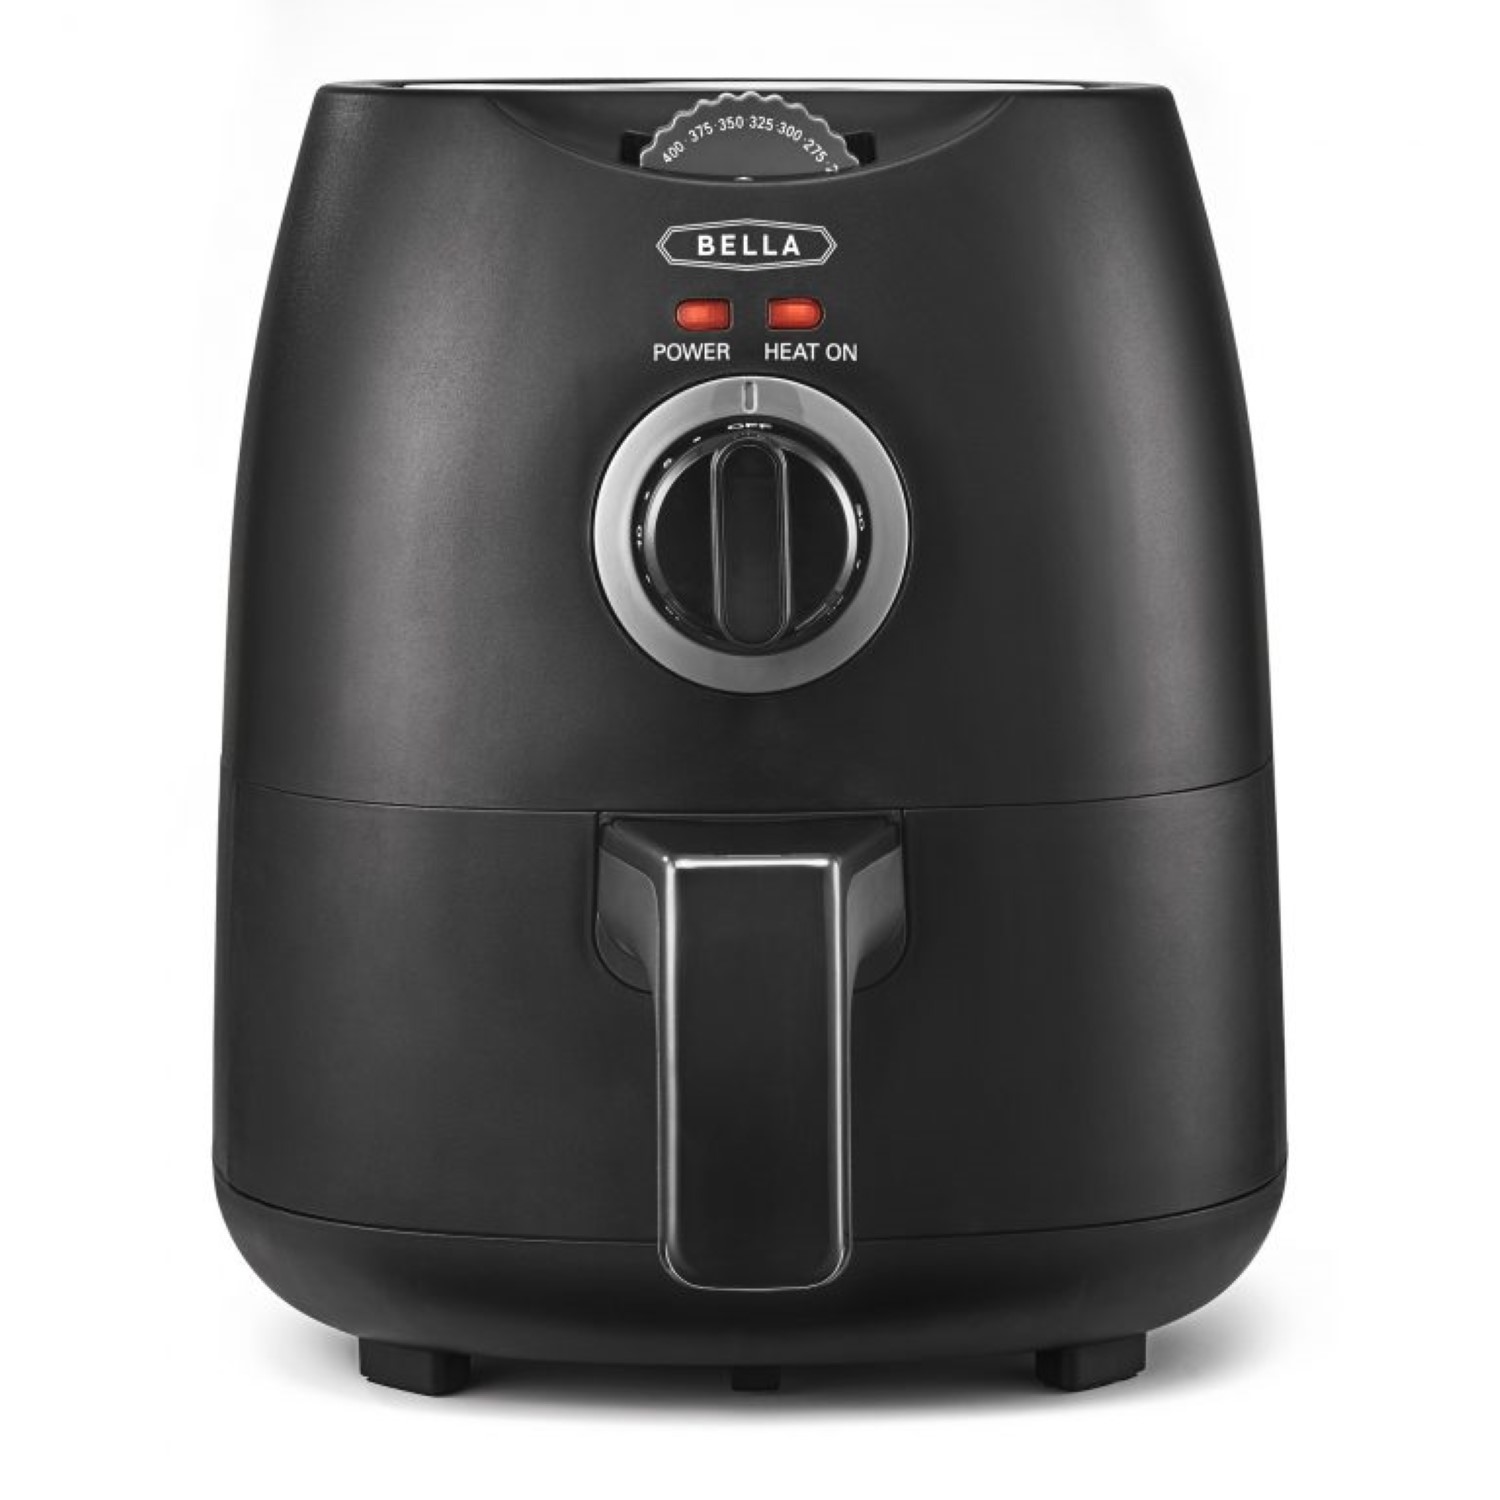
Cooking times are dramatically reduced as a result of this forced air cooking method. Because of the high speed air flow, many foods can be cooked in about the same time as using a microwave. Unlike a microwave, an air fryer makes and keeps foods crispy and brown rather than mushy or rubbery.
Here are some cautions. Because the velocity of the air fryer is quite high, an air fryer is also quite drying for all food. This can make certain foods dry out if cooking precautions aren’t taken, such as wrapping the food in foil to keep the moisture in. Wrapping with foil doesn’t allow for crisping up the food. This means you’ll want to wrap the food for long duration cooking times and then unwrap for the last 8-10 minutes at the end of the cooking time to crisp the food.
Cooking Times
Air fryer cooking times are dramatically reduced from a standard oven. It’s way faster than even a convection oven. A pizza might cook in 18 minutes in a regular oven, but may be done in 8-10 minutes in an air fryer. Speaking of…
Pizza
Cooking Pizza in an air fryer might seem natural, but it’s not. If you intend to cook pizza in an air fryer, you’ll need to know how to do it correctly or it’ll burn and get overly dry.
When cooking pizza in a conventional oven, 400ºF / 204ºC temperature is exactly that. However, in an air fryer, that same temperature is actually quite a bit hotter because of the forced air. This means you have to reduce the heat level when cooking in an air fryer by at least 50ºF / 10ºC to compensate, maybe more. Otherwise, your food will become blackened and hard.
Pizza is no exception. When cooking pizza in an air fryer, you’ll want to cook no higher than 280-300ºF / 138-149ºC and monitor it closely. Cheese easily burns in an air fryer and, yes, it’ll also burn quickly, within 6-8 minutes. Pizza can be tricky to cook in an air fryer. If you’re really wanting the best pizza, I always suggest using a real oven. For reheating pizza, an air fryer is perfect when set to 200ºF to 250ºF / 93ºC to 121ºC.
If you like and prefer a charred, blackened taste on pizza, then an air fryer is perfect for getting that result. I prefer my pizza cheese melted, a tiny bit crispy, but mostly still stringy and fresh. Getting the latter result in an air fryer requires careful lower temperature cooking.
Veggies
Vegetables can be cooked in an air fryer, but I’d suggest wrapping them in foil, adding a tablespoon of water in the foil to keep them moist and steamy. If you want more of a grilled texture to your vegetables, then steam them in foil for about 8-10 minutes, then unwrap the foil and cook for the remaining 3-5 minutes on 380-400ºF / 193-204ºC to crisp them up.
Hamburgers
A hamburger patty is easily cooked in an air fryer. However, air fryers are messy beasts and need cleaning frequently. With foods that tend to produce spatter, like beef, poultry and pork, you’ll want to be sure to clean the interior of your air fryer after cooking such foods.
Hamburger patties cook in about 8-10 minutes at 400ºF / 204ºC. Though, you’ll need to flip the food if you cook without foil. If you’re cooking in foil, there’s no need to flip as the steam will cook both sides evenly. I recommend steaming the hamburger patty for half of the cooking time, then unwrap and cook the remaining time open, being sure to flip it half way through the open cooking time.
Hamburger patties can be placed into the air fryer completely frozen and will still be cooked in that 8 to 10 minutes. Fresh, thawed hamburger patties will cook slightly faster, so check them more frequently.
Hot Dogs
You don’t really need to cook hot dogs in an air fryer. Instead, you’ll simply want to reheat them. Many air fryers offer a reheat setting. Use only the reheat setting for hot dogs. In about 5 minutes, you’ll have hot dogs cooked to perfection. For air fryers with knob settings, reheat is 6 minutes at 200-250ºF / 93-121ºC.
Choosing the air fry option, which typically runs at 400ºF / 204ºC for about 15 minutes, you’re sure to burn the hot dogs, and most anything else except french fries and other potato side dishes. If choosing the 400ºF / 204ºC option, be sure to check your food often and shake the basket about every 3-5 minutes.
Hot dogs cooked at 400ºF / 204ºC will begin to blacken within about 2-3 minutes. If you like your hot dogs blackened, then this is the option to choose. If you prefer your hot dogs warmed with a slightly crispy bite, then reheat is the choice for cooking.
Cooking Side by Side
It’s easy to cook foods side by side in an air fryer basket. For example, you can place hot dogs and fries into the basket together and have a full meal ready go to at the end of the cooking time. However, note that fries take longer to cook than hot dogs. A soon as the hot dogs are warmed, remove the dogs, then raise the temperature to cook the fries at 400ºF / 204ºC for the remainder of the time, around 6-8 minutes.
Alternatively, cook the fries until there’s about 3 minutes left, then lower the temperature to 200-250ºF / 93-121ºC to reheat the hot dogs for 5 minutes, which will also keep the fries hot.
Tortilla Chips / Dehydrating
Many air fryers offer a dehydrate setting. This cooking method cuts the fan speed down dramatically and runs at a temperature around 100-150º / 38-66ºC . This is perfect for drying foods, such as making your own baked corn tortilla chips.
For baked tortilla chips, cut fresh corn tortillas into quarters. Place the quarters flat into the basket. The chips can be overlapping without issues. I typically cut up about 4-5 tortillas and layer them on the bottom of the cooking tray. Then, set the cooking method to dehydrate for 1 hour and 30 minutes.
These chips come out quite crispy, but not the same as you can buy at the store. If you’re wanting to make nachos, it’s a reasonably quick way to make chips without running to the store.
One trick here to soften the chips a bit is to place the chips in a paper bag and let them sit overnight. The next day, the chips will have a softer crunch and be more like chips you can buy in the store.
However, don’t be fooled into thinking that air frying these tortillas at 400ºF / 204ºC will do you any favors. It won’t. The chips will blacken and taste burnt. You don’t want this for tortilla chips. If you want to heat the chips, use the dehydrate method described above to keep them crispy, yet looking and tasting like tortilla chips. You can use reheat on the chips for 1-3 minutes to warm them up, too.
Frozen Fried Foods
Here’s where the air fryer shines. For frozen foods like Totinos Pizza Rolls, corn dogs, mini tacos, taquitos or even simply fried chicken (fresh or frozen) or french fries, the air fryer setting works perfect to reheat and cook these.
All of the above foods cook using the air fry option. The air fry option typically runs 380-400ºF / 193-204ºC for about 12 minutes, shaking the basket several times while cooking to even out the cooking. No need to thaw, just place them straight into the basket frozen and 12 minutes later you’ll have piping hot and crispy foods. Some of the above foods may cook in around 8 minutes. Always begin checking your foods for doneness around 8 minutes while shaking the basket.
The air fry setting is perfect to cook fried chicken or other fried and battered foods to perfection. That’s why they call it an air fryer.
Cookies and Cakes
While it is possible to use an air fryer to bake such foods, I don’t recommend it. These baked food types don’t bake well in an air fryer. There are three reasons for this:
- The forced air ensures the top of the baked good is overcooked and dry
- The forced air will flatten cookies out and make them too flat
- The forced heat will overcook the top of cookies, but leave the underside undercooked (same for cake)
Instead, for a more even bake, I recommend using a regular or toaster oven for baking cookies, cakes and brownies. If you want your cookies a little more crispy, you can throw them into the air fryer for 1-3 minutes at around 350ºF / 177ºC after they’ve been baked in a regular oven.
Baked Pasta
If you’ve ever bought a baked personal pan pasta from Pizza Hut or any other Italian restaurant, then you may be wondering how to get that crispy cheese texture on the top of hot steaming pasta. The air fryer is perfect for making this. However, you’ll need to invest in some cooking pans that fit into your air fryer.
Up until now, I’ve not discussed the size of the baskets on an air fryer. Here’s where you’ll need to get your tape measure out and determine the dimensions of your air fryer basket. Mine is about 8″ across. With that sizing in hand, head over to Amazon and search for air fryer accessories that will fit inside your basket. It’s possible your air fryer came with small pans that fit inside of your basket. Mine did not. You’ll want to obtain either a square or round baking pan that fits inside your air fryer basket.
For baked pasta:
- Layer your cooked pasta on the bottom of a round or square pan (not in the basket directly)
- Layer mozzarella on top of the pasta
- Layer cooked pasta sauce on top of the cheese
- Place various toppings like beef, pork, veggies and pepperoni
- Top with a layer of cheese
Cook in the air fryer at 350ºF / 177ºC for about 6-8 minutes, checking for cheese browning at around the 5 minute mark.
Note that if you’re using a basket type fryer, be sure sure to buy a pan accessory kit which also includes a pan grabber. This grabber grabs hold of the lip of the pan which allows you to easily lift and extract the pan from the basket without using your hands and without spilling. Though, you can use oven mitts if you prefer… a pan grabber is much easier to prevent food spillage.
Cooking Other Foods?
There are plenty of other foods you can try cooking in an air fryer. For example, if you buy a frozen food from the store and there are not air fryer cooking instructions on the package, subtract 50% of the cooking time from regular oven cooking and that is usually what’s needed for an air fryer. You may also want to reduce the cooking temperature by at least 30-50ºF / 8-20ºC to avoid overcooking or burning.
As I said above, if it’s cookies, cakes or other baked goods, you should opt for baking in a regular or toaster oven. Even such foods as pot pies or sweet pies may cook better in a conventional oven. Some foods are easy to over bake in an air fryer.
When cooking meats, many cooks want to save the drippings to make gravy. If you’re wanting to make gravy, don’t use an air fryer. Air fryers force evaporate almost all liquids produced by foods. This means, no gravy. If you’re wanting to make gravy, then you’ll want to braise your chicken, pork and beef in a regular oven to retain those juices. Don’t use an air fryer.
If you don’t care about gravy, then cooking your food in an air fryer is an option. Just don’t be fooled into thinking you can make gravy from cooking meats in an air fryer. It doesn’t work.
Pre-heating an Air Fryer
Some air fryers have a preheat setting. However, it’s really unnecessary. You can throw your food straight into the basket and begin the cooking instantly. It might add 1 extra minute to the cook time, but it’s faster than waiting 2 minutes for a preheat. To be fair, it only takes about 1 minute for an air fryer to preheat… which is why it’s mostly unnecessary to preheat your air fryer unless you want the grill surface to be hot so it will add grill marks to your food.
Basket vs Trays vs Cleaning
Some air fryers are more like toaster ovens with trays. If you have this kind of air fryer, you’ll need to use an oven mitt to pull out the trays to shake them. If you have the basket type fryer with a handle, these are more convenient because the handle stays completely cool on the basket. I recommend the basket variety because it’s much easier to clean and the handle remains cool.
If you have the basket variety of air fryer, there are lots of “keep it clean” options, including basket inserts made of paper, parchment and even silicone. These inserts allow for cooking and removal to keep your basket clean. There are also pans, as mentioned above, which can be used to help bake foods while keeping the interior clean.
Still, spatter from foods can get into the heating elements and surrounding areas. You’ll need to periodically wipe and clean the interior of the air fryer after it has completely cooled. You may need to use a little Easy Off oven cleaner to fully clean this spatter. Be sure to clean your basket every so often to make sure you’ve cleaned off food smells from previous uses.
 Final note. Some air fryer images show a basket filled to capacity, like this Ninja to the left. Don’t do this. The maximum you should ever fill your basket is about half to 3/4 full. Never fill your basket entirely to the top with food. The reason? The top most food is too close to the heating element and will burn. You want to keep your food far enough away from that heating element to keep it from burning. Such images are strictly for marketing purposes, not for functionality. Do not replicate these marketing images when cooking.
Happy Air Frying!
↩︎


3 comments